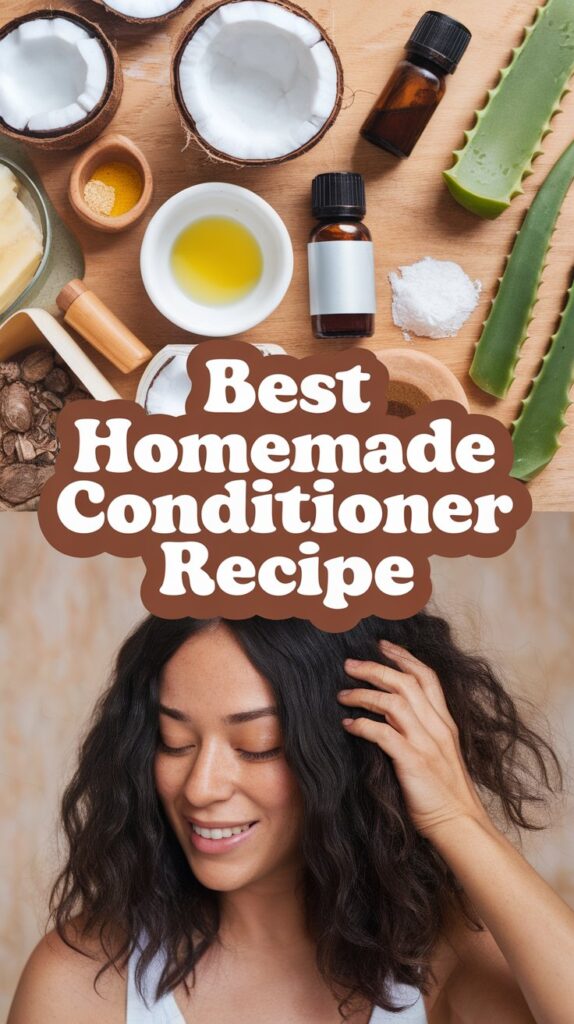
Look, I’m not going to pretend I always had silky, manageable hair. For years, I was that person squinting at ingredient lists in the hair care aisle, wondering what on earth “dimethicone” was and why my conditioner cost more than my lunch.
Then one day, I thought why not just make my own? Spoiler alert: it was easier than I expected, and my hair actually thanked me for it.
Pin this ↓ to save the list

Why Bother Making Your Own Conditioner?
Here’s the thing store-bought conditioners aren’t evil, but they’re not exactly pure angels either. Most commercial products come loaded with sulfates, parabens, and synthetic fragrances that can irritate your scalp or weigh your hair down over time.
Ever noticed how your hair feels amazing for the first week with a new conditioner, then gradually becomes meh? Yeah, that’s buildup doing its thing.
Making your own conditioner puts you in control. You know exactly what’s going on your hair, and you can customize it based on what your locks actually need.
Plus, it’s surprisingly affordable. I’m talking pennies per batch compared to those fancy salon brands.
Healthy hair is just one part of looking your best naturally. For more tips on enhancing your natural beauty, check out our guide on 10 easy ways to look pretty without makeup.
Here’s what natural conditioners can do for you:
- Moisturize without synthetic silicones
- Reduce scalp irritation and itchiness
- Add natural shine and softness
- Save you serious cash over time
- Let you feel like a DIY wizard 🙂
Understanding Your Hair Type First

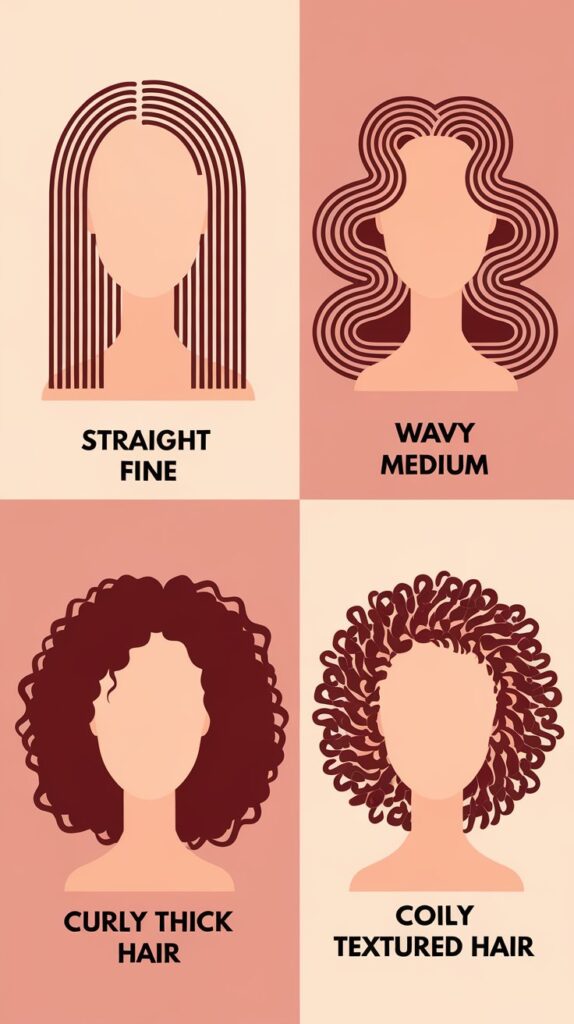
Before you start mixing ingredients like you’re in a chemistry lab, take a second to understand your hair type. Trust me on this what works for my fine, slightly oily hair might turn thick, curly hair into a greasy disaster (or vice versa).
Quick hair type breakdown:
- Oily hair: Needs lightweight ingredients that won’t add extra grease
- Dry/damaged hair: Craves deep moisture and protein
- Normal hair: Lucky you most recipes will work fine
- Curly/coarse hair: Benefits from heavier oils and butters
IMO, this step matters more than people think. I once used a coconut oil-heavy conditioner on my fine hair and looked like I hadn’t showered in a week. Not cute.
Essential Ingredients You’ll Need
The beauty of homemade conditioners is that you don’t need a million ingredients. Most of these you probably already have in your kitchen, and the rest you can grab from any health food store or online.
Base Ingredients
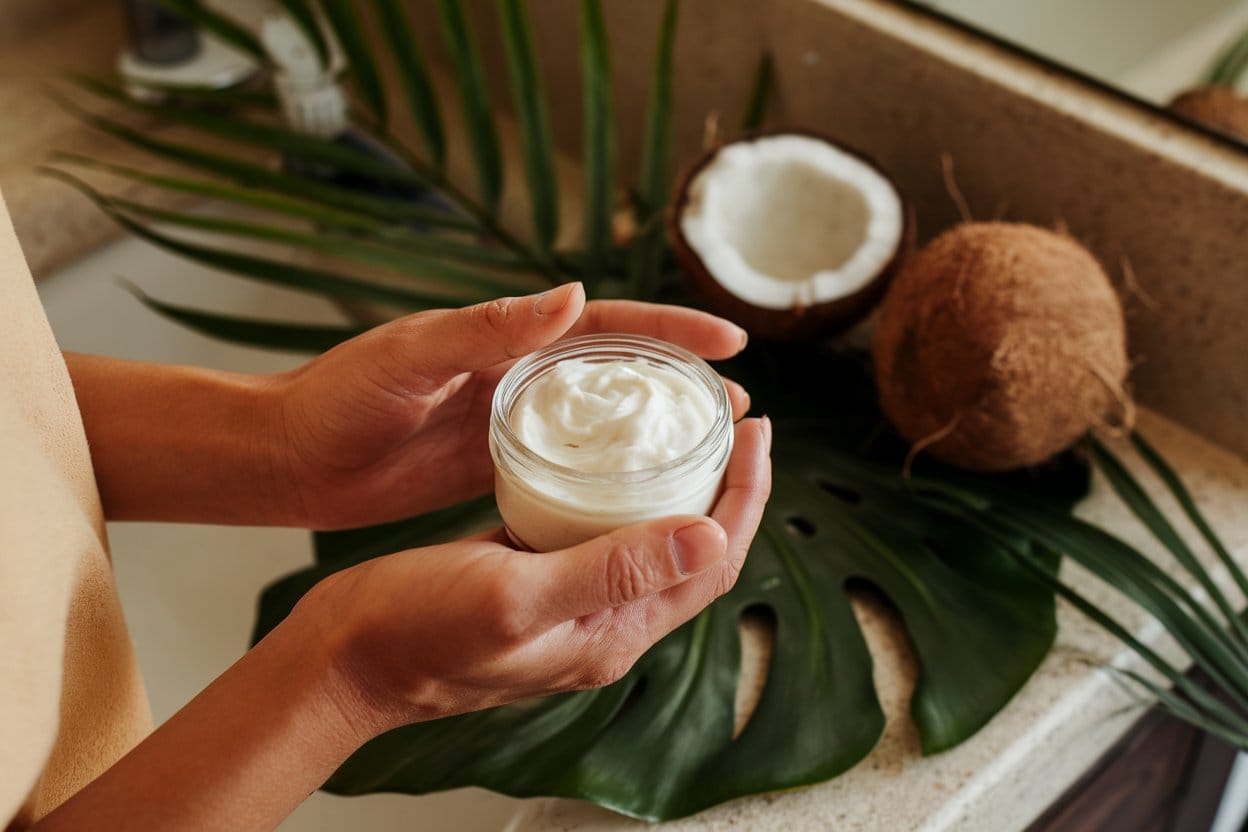
Coconut milk is my absolute favorite base. It’s creamy, packed with fatty acids, and makes your bathroom smell like a tropical vacation. You can also use aloe vera gel for a lighter option, especially if your hair tends toward the oily side.
Apple cider vinegar might smell funky, but it’s a game-changer. It balances your scalp’s pH, seals hair cuticles, and adds serious shine. Just don’t skip diluting it straight ACV on your scalp is not a fun experience (ask me how I know).
Moisturizing Oils
Here’s where you can customize based on your hair type:
- Coconut oil: Best for thick, dry, or curly hair. It penetrates the hair shaft like nothing else
- Jojoba oil: Perfect for all hair types because it mimics your scalp’s natural oils
- Argan oil: The fancy option that adds shine without heaviness
- Olive oil: The budget-friendly choice that still delivers moisture
FYI, a little goes a long way with oils. Start small and add more if needed.
Protein Boosters
Damaged hair needs protein to rebuild its structure. Eggs are the classic choice the yolk moisturizes while the white provides protein. If you’re not into the idea of smelling like breakfast, gelatin works too and doesn’t have that eggy scent.
Optional Add-Ins
Want to level up your conditioner? Toss in some honey for extra moisture, essential oils for fragrance (lavender and rosemary are my go-tos), or vitamin E oil for serious repair action.
My Favorite Basic Recipe
Alright, let’s get practical. This is my tried-and-true recipe that works for most hair types. I’ve tweaked it about a dozen times, and this version consistently delivers soft, manageable hair without any weird residue.
What you’ll need:
- 1/2 cup coconut milk (full-fat, not the watered-down stuff)
- 2 tablespoons coconut oil (melted)
- 1 tablespoon apple cider vinegar
- 1 tablespoon honey
- 5-7 drops essential oil (optional, but why not?)
How to make it:
- Combine all ingredients in a bowl and whisk until smooth
- If your coconut oil solidifies, gently warm the mixture
- Transfer to a squeeze bottle or container
- Store in the fridge for up to two weeks
Seriously, that’s it. The whole process takes maybe five minutes.
Recipe Variations for Different Hair Types
For Dry or Damaged Hair
Bump up the moisture with this richer version:
- 1/2 cup coconut milk
- 3 tablespoons coconut oil
- 1 tablespoon argan oil
- 1 egg yolk
- 1 tablespoon honey
The egg yolk adds protein while the extra oils provide deep conditioning. Your hair will drink this up.
For Oily Hair
Keep it light and clarifying:
- 1/2 cup aloe vera gel
- 1 tablespoon jojoba oil
- 2 tablespoons apple cider vinegar
- 5 drops tea tree essential oil
This version won’t weigh your hair down but still provides necessary moisture where you need it.
For Curly or Coarse Hair
Go heavy on the moisture:
- 1/2 cup coconut milk
- 2 tablespoons shea butter (melted)
- 2 tablespoons coconut oil
- 1 tablespoon honey
- 1 tablespoon aloe vera gel
The shea butter is the secret weapon here it provides lasting moisture and helps define curls without frizz.
How to Actually Use Your Homemade Conditioner
Here’s where people sometimes mess up. Natural conditioners work differently than commercial ones, so adjust your expectations and technique.
Step-by-step application:
- Shampoo your hair as usual (I recommend a natural shampoo to match)
- Squeeze out excess water your hair should be damp, not dripping
- Apply the conditioner from mid-length to ends, avoiding your roots unless your hair is very dry
- Leave it on for 3-5 minutes (longer for deep conditioning)
- Rinse thoroughly with cool water to seal the cuticles
Ever wonder why cool water makes such a difference? It closes your hair cuticles, locking in moisture and adding shine. Hot water does the opposite it opens cuticles and can leave hair looking dull.
One thing I learned the hard way: Don’t overdo it on the roots. Unless your scalp is extremely dry, focus the conditioner on your ends where you actually need moisture. Otherwise, you’ll look greasy by afternoon.
Storage and Shelf Life
Because we’re not using preservatives (that’s kind of the whole point), your homemade conditioner won’t last as long as store-bought versions. Most recipes stay fresh for about two weeks in the fridge.
Storage tips:
- Use clean, airtight containers
- Keep refrigerated between uses
- Make small batches to ensure freshness
- If it smells off or changes texture, toss it
I like using squeeze bottles with flip tops they make application way easier and keep water from contaminating the product. You can grab these cheap online or recycle old bottles.
Common Mistakes to Avoid
Let me save you from the mistakes I made when I started this whole natural hair care journey.
Using too much product: Natural conditioners are concentrated. You need less than you think. I wasted half a batch my first time because I used my normal commercial conditioner amount. Start small.
Not rinsing thoroughly: Natural ingredients can leave residue if you don’t rinse well. Spend an extra 30 seconds rinsing, especially if you used oils or butters.
Expecting instant miracles: Your hair needs time to adjust from commercial products. Give it 2-3 weeks before deciding if a recipe works for you. The transition period can be awkward, but stick with it.
Skipping the patch test: If you’re using new essential oils, test them on your skin first. Scalp irritation is not fun :/
The Actual Benefits I’ve Noticed
I’m not going to lie and say natural conditioners transformed my life or gave me mermaid hair. But after six months of using homemade versions, I’ve definitely noticed some real changes.
My hair feels softer without being weighed down. The frizz that used to show up by midday has chilled out significantly. My scalp doesn’t itch anymore turns out I was sensitive to something in my old conditioner. Plus, my hair holds styles better and has more natural body.
The best part? I’m spending maybe $10 every few months on ingredients versus $15-20 monthly on conditioner. That’s real money back in my pocket.
Final Thoughts
Making your own natural hair conditioner isn’t complicated or time-consuming. You don’t need fancy equipment or expensive ingredients. What you do need is a willingness to experiment and figure out what works for your specific hair type.
Start with the basic recipe I shared, use it consistently for a few weeks, and then tweak based on how your hair responds. Maybe you need more moisture, or perhaps less oil. The beauty of DIY is that you can adjust on the fly.
Your hair is unique shouldn’t your conditioner be too? Give it a shot. Worst case, you waste 10 minutes and a few dollars. Best case? You discover your hair’s new best friend and never go back to overpriced store-bought conditioners again. Worth it, if you ask me.

